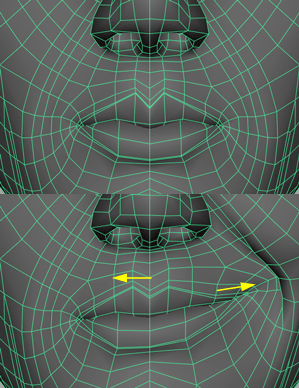
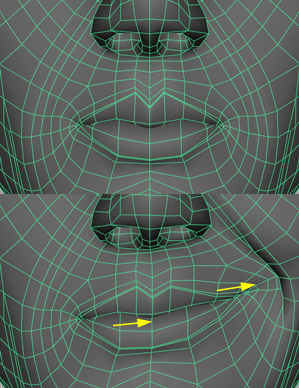
After following the First Steps, you have a setup with a
left-right separated smiling shape (AU12). If you take a closer look at
the deformation, you see that the vertices near the center of the lip don’t
move perfectly logical in every situation.

For these situations, the BCS allows you to manually model an individual left and/or right shape. Typically, you model just the left shape and use “Data Points->Mirror Unilateral Tweaks->Left to Right” in order to mirror your manual tweaks over to the other sub-dataPoint.
This tutorial continues where the First Steps have left. You can therefore open the scene
bcsSteps_finished.mafor starting into this tutorial.In the dataPoint list of the bcsUI, select the dataPoint
AU12.Do a “right-click->Edit Geometry->Left”. You will see the automatically created left part of the
AU12dataPoint.Move the vertices near the center of the lip to support the overall left movement of the lip corner.
Instead of modeling the shape yourself, you can import the scene
bcsLeftRight_AU12L.mato get an objectAU12Leftthat you can connect to the left tweak geometry of the dataPoint. Delete your left tweak object and with theAU12Leftobject selected, do a “Data Points->Connect Object->Left”. Be sure to use the “Left” directly below the “Absolute” entry.Delete the left tweak geometry object from the scene.
At the moment, only the left version of the dataPoint has the tweaks applied. The next step will mirror these changes to the other part of the dataPoint.
With the dataPoint
AU12still selected in the list, choose “Data Points->Mirror Unilateral Tweaks->Left to Right”.The finished scene can be found in
bcsLeftRight_finished.ma

Please note that the BCS node only stores the difference between the automatically created left (and right) version and the tweaks you’ve applied manually. This means that the left and right version will change when you edit the falloff curve or even model the complete dataPoint.